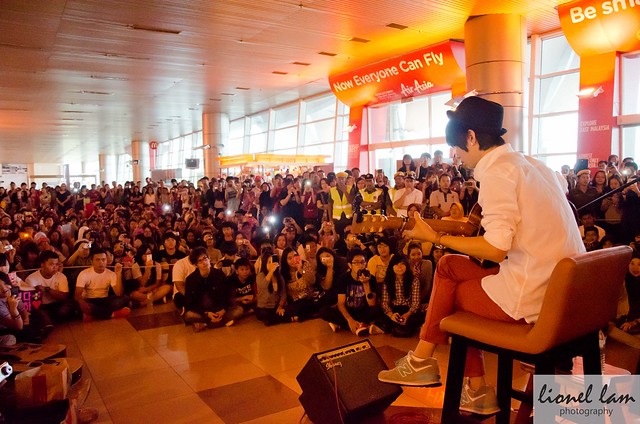
Concert photography is not something everyone will enjoy, but for those who wish to take a first step in this direction, having the right preparation is necessary. My first attempt at concert photography was a little while ago, when I was shooting under Wedding Celebrations Studio for Sungha Jung’s concert at the Kuching International Airport. Sungha Jung was brought in to perform by Borneo To The World, a soap maker and newly-opened retailer at the airport. I would personally think their marketing strategy proved extremely successful, at least judging by the size of the crowd and the attention they were getting.

I only had two hours to prepare. A quick poking-around the web returned some interesting results on what gear to bring and what to expect during the event.
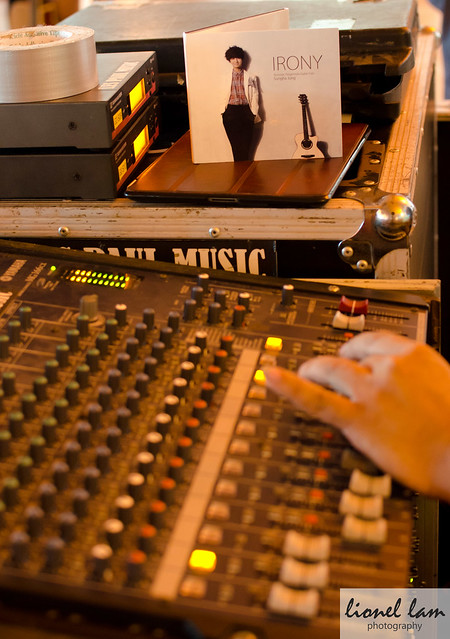
Listed below were the items I brought along. Because I anticipated I might be moving around quite a bit, I decided to pack light.
- Camera: Nikon D7000
- Nikkor 35mm f1.8 DX.
- Nikkor 18-105mm f3.5 – 5.6 DX
I presume that the above setup would be largely dependent upon the type of concert photography you decide to get into, but having a fast prime would be mostly adequate as most concerts are set in venues with low ambient lighting. Having a camera body which can shoot at ‘stupid high’ ISOs (as Ken Rockwell put it) would certainly be an advantage. You may have also noticed that I did not include a flash. This is because flash photography is often not allowed, or even if allowed, it may be restricted to certain settings and under specific circumstances.
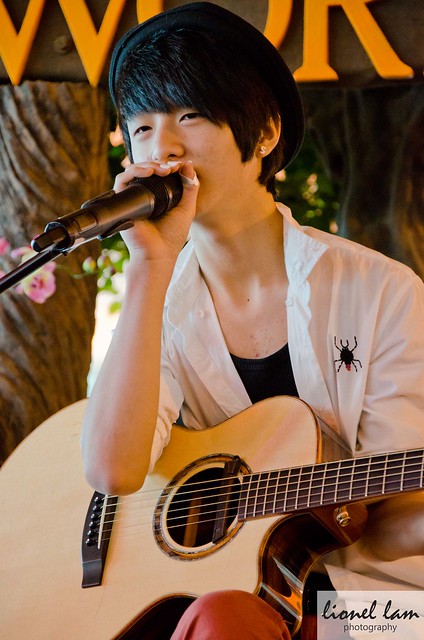
The truth is, you don’t really need to have cutting-edge gear. Having a eye for good composition and some luck should suffice for most people. Below are some photos taken during the event. Click on the pictures to view the EXIF data.
If there was something important I learned about concert photography, it is about photographing minute and often-overlooked details. It is these things that help convey and express the persona of the subjects being photographed.

Shown below is another version of the above photo, but in full color. At this point, you may notice that when the photo is rendered in black and white, we tend to focus on the texture and outlines of the subject.
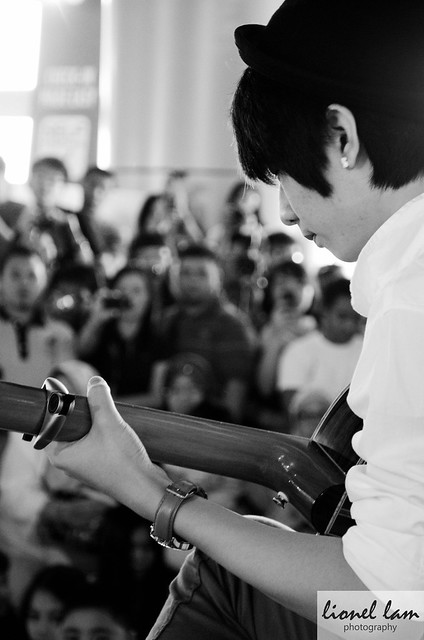
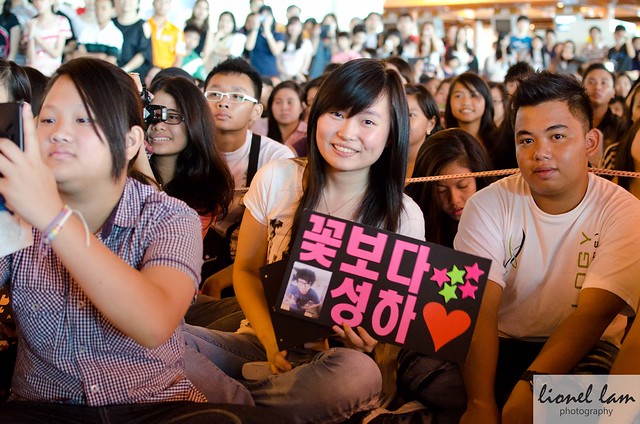
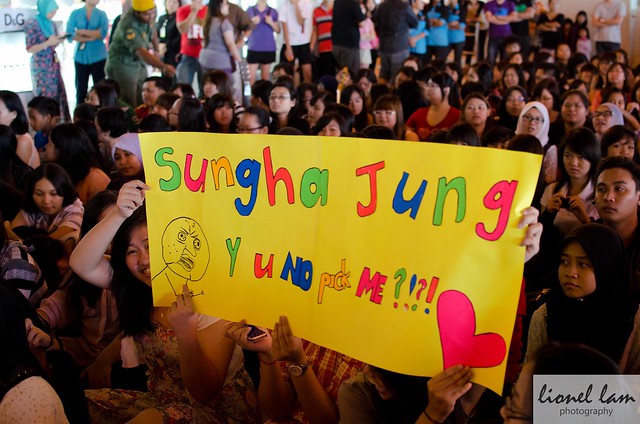
Having your gaze fixated solely on to the performer(s) will tell little about the surrounding. I decided to include a bit of the audience in the above frame to give the picture a bit more impact. Shown below are a few more examples. This is a good way to ‘throw’ the viewer right into the heat of the action.